In a previous post, I set out to discern what would be the best modern stiffening agent to use to make linen cardboard.The PVA solution won hands down. The cellulose didn't make the sample half as stiff as I would have expected, and the starch didn't work out at all. I'll have to revisit that, as I want to make stiffened ruffs in the future.
To make the linen cardboard, I cut out two pieces of linen for each pattern section, not including a seam allowance. I painted each piece liberally with the PVA:water mixture, then hung it to dry. The PVA I used was wood glue rather than craft glue. Craft glue tends to be already diluted more than wood glue PVA, so if you use craft glue it won't need as much water to make up the solution.
When the first drying was complete, I painted one side of each piece with more glue and placed the second piece over it, massaging the linen to ensure a good bond, to create a double layer of linen. The pieces curled a little during drying, but this was easily put to right by a pressing with a hot iron between layers of paper. The heat of the iron makes the linen quite floppy, which was initially worrying, but it regained the stiffness when it cooled overnight. I'm hoping this will also mean that the heat of my body will help the bodice to conform to my own torso without becoming so loose that it will lose shape altogether.
I've started the assembly of the bodice now, by enclosing the linen in some polycotton broadcloth, to ensure the linen doesn't start poking me in the delicate regions.
Tuesday, 25 June 2013
Sunday, 23 June 2013
Hat!
Sometimes a good hat can really finish an outfit. Hats aren't something I'd looked into much in my SCA garb, but when Aodh started talking about wanting a hood to keep off the rain during archery, I thought that an excellent idea, though a hood didn't appeal.
In 16th century Italy, hatwear on women was frowned upon, mostly because the women adopted a very masculine style of hat. This, however, made it a little easier to research, as there's a lot more portraits with men wearing their headgear than women. In the end, I decided on an Elizabethan or Italian style bonnet, made with black brocade.
I used two different tutorials to construct my hat pattern - a guide on making a fitted hat brim from sempstress.org, to ensure I could have a hat that actually fits on my funny shaped head, and this guide on bonnet making from renaissancetailor.com, as the look of the top of the hat appealed to me.
As I had mentioned, I used a black brocade as my fashion fabric and lined the hat with black linen. Essential to this style of hat is an interlining which properly supports the fashion fabric and gives body to the folds and pleats. Modern felt is much thinner than felt that was used in period, so I decided to make my own felt. I used three layers of fibre, knowing that my felt when fulled becomes very fluffy, and that turned out to be just the right thickness.
I made up a separate piece to use in the brim, enclosing it between two pieces of buckram using a technique I like to call "messing" or "mucking about".
The hat itself came together very quickly, delayed mostly by waiting to sew with a friend who I was teaching as I went. Already I want to make more though. I just need to figure which colours go with my existing wardrobe, or what kind of embellishments I can get away with. I'll need a very elaborate type of hat for June next year...
Finally, what hat is complete without embellishments. This is where my love of costume jewellery comes in. A local shop sells very cheap, very colourful costume jewellery that is my Achilles heel. I can't resist the big, brash jewels! Pictured here are the three items, two rings and one brooch I picked up as possible finishes for this hat. In the end I went with the green ring, to match it in with the colour of the dress I'm currently making. I squished the ring band so I could sew it to the hat brim, mounting it over the bare quill of the pheasant feathers used as part of the embellishment.
And behold the finished hat! It counts as the first of my accessories for the Realm of Venus costume competition (though I have to submit it as completed yet). But I'm very pleased with it. Especially as the hat decor will match the fletching on my arrows. And this outfit is intended to be my archery garb...
Sunday, 16 June 2013
Lyer, lyer
This weekend, I attempted to process my first batch of lye.
Lye is a caustic substance and will burn skin if it comes into contact with it, so make sure you take all safety precautions if you decide to try this yourself.
With the lye bucket raised up, I placed a second bucket underneath to catch the solution. There was a minor problem with this set up, which was that I didn't account for the force of the water coming out from the first bucket, and the very first parts of my solution ended up on the ground. It was at this point I was glad I had taken the proper precautions and it was my latex gloves that got splashed, not my hands.
And the solution that resulted? Well, the colour was about right. But did I have lye?
Another thing to note about lye is that due to possible contamination, you need to use dedicated equipment. That is, once you start using certain equipment for lye, you need to put it to one side and not use it for any other purpose.
So to test if I had lye, I used the old method of testing the density* of the solution. This involved floating an egg or small potato in the solution, and unlike in water where a fresh egg would sink, the item should float with just a small portion floating above the surface. I took a jug full of my solution, and gentled lowered an egg into the liquid.
It sank.
It just sank. Straight to the bottom. It did not even have the courtesy to hesitate or descend slowly to the bottom of the jug, as if something was supporting it. Oh no. Result, I do not have lye yet.
Thankfully, I'd already secured and fired more hardwood, so I added these ashes to the bucket and poured my first leaching back over them. And this time I was rewarded with the slight fizz I've read comes with the successful leaching of lye from ashes. I topped up the bucket with about another pint, to allow for what I'd lost initially, so now I just have to wait another week, and keep my fingers crossed.
*density may not be the correct term. I can't think which one would be. My old science teachers would be ashamed of me.
Tuesday, 11 June 2013
Just can't get the support...
In making me previous dress bodice, that of my court gown, I used a store bought buckram fabric. It's...adequate, but I'm a well endowed woman so it's not perfect. I'm trying to resist going the stays route, even though there is enough evidence to support their use in the later half of the 16th century in Venice, or the more modern method of adding metal boning to the bodice.
Buckram or linen cardboard was often used in period as support, though the buckram of the 16th century would have been very different to what we know now. We know starch would have been used to set ruffs, and it's likely animal glue, as it was in use in bookbindings, would have been used to make linen cardboard. However, animal glue is likely to crack and shrink as it ages, and given my curves, something that would crack as it conforms to a shape other than a books spine would not be ideal, so I've decided to test a variety of substances, such as a polymer, starch and cellulose. In other words PVA glue, aka white glue, home made clothing starch made with cornstarch and wallpaper paste.
And if these don't work, the other option is to try cording. Cording involves sewing cotton cord or twice into narrow channels along the bodice. It's a technique I've tried before on the sewing machine, and it gives a very comfortable support, though I'm not sure about trying it by hand. There are only two months lefts to the competition after all.
Buckram or linen cardboard was often used in period as support, though the buckram of the 16th century would have been very different to what we know now. We know starch would have been used to set ruffs, and it's likely animal glue, as it was in use in bookbindings, would have been used to make linen cardboard. However, animal glue is likely to crack and shrink as it ages, and given my curves, something that would crack as it conforms to a shape other than a books spine would not be ideal, so I've decided to test a variety of substances, such as a polymer, starch and cellulose. In other words PVA glue, aka white glue, home made clothing starch made with cornstarch and wallpaper paste.
All three can be used as stiffening agents, though all three have the drawback of dissolving if they become wet. It's a risk, but sure let's try it.
I made up small samples of all three solutions. For the PVA, I used roughly a 1:1 ratio of glue to water, the starch recipe came from Janet Arnolds Patterns of Fashion, which is to use one cup of starch to 100 mls of water, mix, then add 250mls hot water, and I made up 100mls of wallpaper paste following the packs instructions for the strongest solution. I brushed three approximately equally sized pieces of linen with each solution, and I've now left them to dry. As the starch is only really activated when it's ironed, I'll be pressing all three when they dry, to keep the playing field even.
And if these don't work, the other option is to try cording. Cording involves sewing cotton cord or twice into narrow channels along the bodice. It's a technique I've tried before on the sewing machine, and it gives a very comfortable support, though I'm not sure about trying it by hand. There are only two months lefts to the competition after all.
Friday, 7 June 2013
Soap! - Making the Lye, Part I
The ashes have cooled, and I've assembled the rest of my materials, so it's time to make some lye!
For this process, it's very important to have all of the materials to hand before you start, so here's what you need and the way you'll be using them:
Materials:
Bucket or waterproof barrel - the size depends on how much lye you intend to process. For me, this will be on the smaller scale.
Cork or tap
Gravel
Straw - I used pet bedding
Hardwood - burnt to ashes
Soft water - I used collected rainwater from the garden's water barrel.
And here's how to make the lye:
As I mentioned in my last post, I had burnt my birch wood into ash and had left it to cool in the grate. Next I obtained a bucket, I'm using a small 3 gallon size, and I drilled a hole near the base to fit a cork snuggly. Just to be sure of the fit, I half filled the bucket with water but no drips resulted.
This method is just one that can be used. A tap can also be fitted at the bucket base, or multiple holes drilled in the base. This would mean a second bucket is needed and the water would run through straight away. The disadvantage with this is that multiple leachings are needed to extract the lye. The system I want is to be able to leave the ashes soaking for a couple of days before I extract the liquid.
Next, I added gravel to a depth of about two inches in the bucket. On top of this, I added straw to another two inches. Well, it was two inches when I squished it down, but being straw, it didn't want to stay squished. The gravel and straw acts as a filter after the ashes have been soaked, and prevent it from coming out with the water. Due to the caustic nature of the lye, the straw will likely have to be changed out on each batch.
Next, I filled the bucket with water enough to completely submerge the straw, when it wasn't floating. This brought the water level up to the bucket's two gallon mark.
And lastly, the ash. I had more ash that I'd realised from my first lot of birch wood, and I aggitated the surface slightly to make sure it was all moistened. For good measure, I topped up the water some more too, to the 10 litre mark.
All that done, I've left the bucket in the shed to do its thing, covered over with a plastic bag to prevent anything from falling in that doesn't belong there.
In Making the Lye, Part II, I'll cover the liquid extract, testing and preparation for use parts of the lye making process.
For this process, it's very important to have all of the materials to hand before you start, so here's what you need and the way you'll be using them:
Materials:
Bucket or waterproof barrel - the size depends on how much lye you intend to process. For me, this will be on the smaller scale.
Cork or tap
Gravel
Straw - I used pet bedding
Hardwood - burnt to ashes
Soft water - I used collected rainwater from the garden's water barrel.
And here's how to make the lye:
As I mentioned in my last post, I had burnt my birch wood into ash and had left it to cool in the grate. Next I obtained a bucket, I'm using a small 3 gallon size, and I drilled a hole near the base to fit a cork snuggly. Just to be sure of the fit, I half filled the bucket with water but no drips resulted.
This method is just one that can be used. A tap can also be fitted at the bucket base, or multiple holes drilled in the base. This would mean a second bucket is needed and the water would run through straight away. The disadvantage with this is that multiple leachings are needed to extract the lye. The system I want is to be able to leave the ashes soaking for a couple of days before I extract the liquid.
Next, I added gravel to a depth of about two inches in the bucket. On top of this, I added straw to another two inches. Well, it was two inches when I squished it down, but being straw, it didn't want to stay squished. The gravel and straw acts as a filter after the ashes have been soaked, and prevent it from coming out with the water. Due to the caustic nature of the lye, the straw will likely have to be changed out on each batch.
Next, I filled the bucket with water enough to completely submerge the straw, when it wasn't floating. This brought the water level up to the bucket's two gallon mark.
And lastly, the ash. I had more ash that I'd realised from my first lot of birch wood, and I aggitated the surface slightly to make sure it was all moistened. For good measure, I topped up the water some more too, to the 10 litre mark.
All that done, I've left the bucket in the shed to do its thing, covered over with a plastic bag to prevent anything from falling in that doesn't belong there.
In Making the Lye, Part II, I'll cover the liquid extract, testing and preparation for use parts of the lye making process.
Monday, 3 June 2013
Soap!
It's been another week post-larp, meaing that the crafting has been on the light side again. However, I did get a couple of small pieces done.
Firstly, a crochet snood, "Starburst Snood" by Maddalena Casci, available on ravelry. This was made for a friend in exchange for a new feasting plate she'd given me.
Secondly, with summer finally here, that means driving without collars. And driving without collars means the seatbelt goes back to attemting to saw off my neck by slow friction.
Cue the first chunky stash yarn to hand (which nicely matches the colour of my little red polo), a large crochet hook and job’s a good ‘un.
And then, a breakthrough!
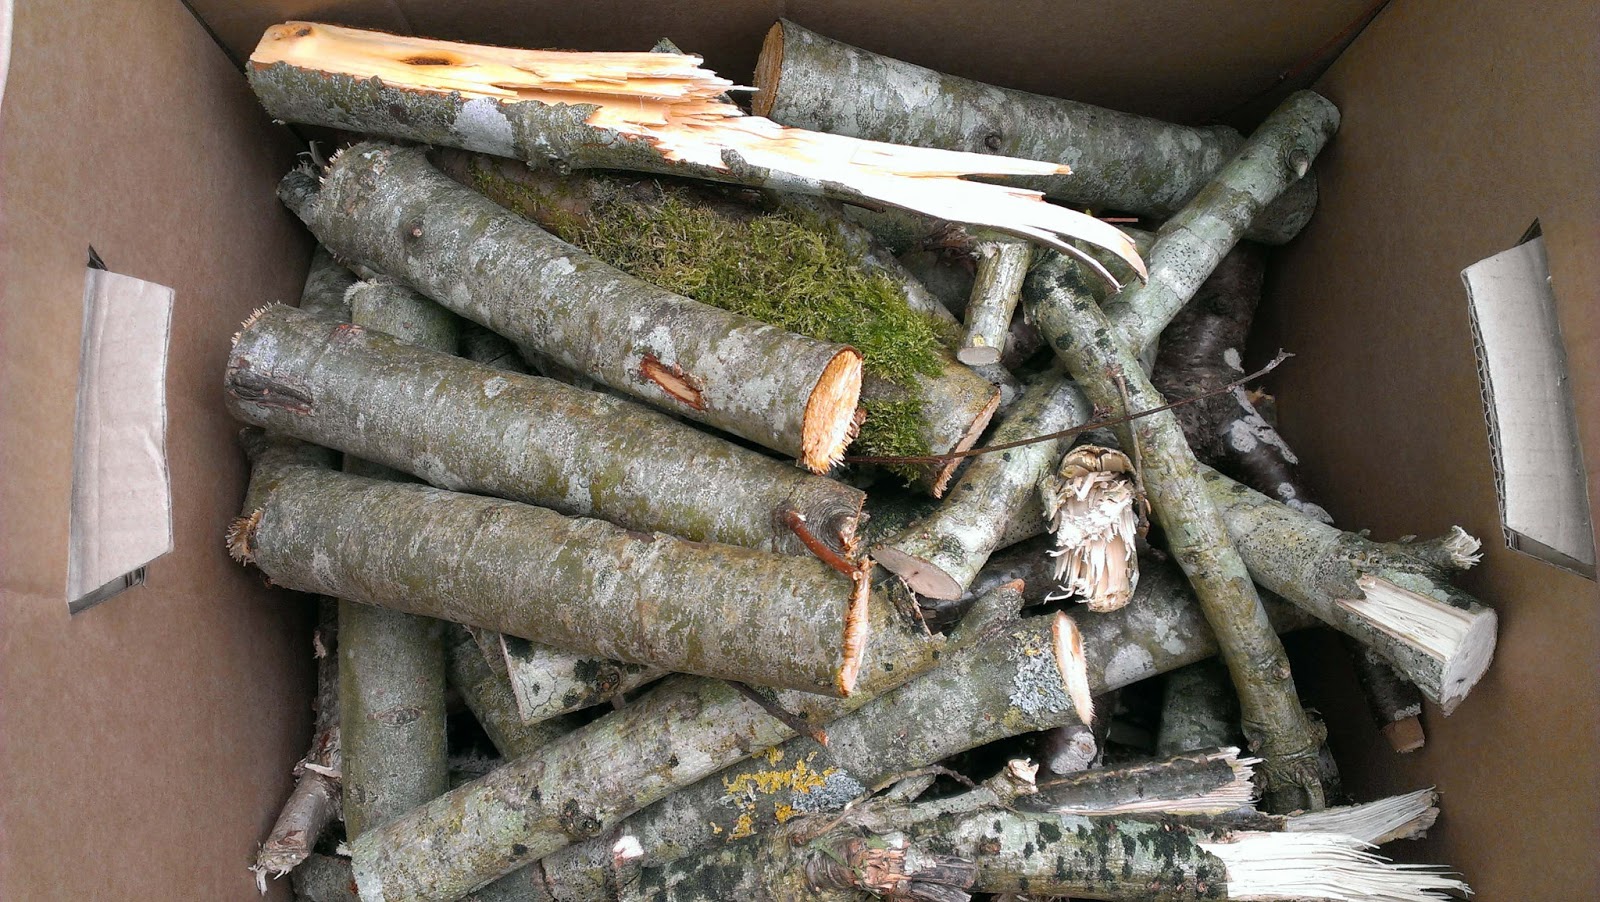
I was monstering a charity larp on saturday, which took place in the very beautiful Indian Sculpture Park in the Wicklow Mountains. The site contains a mini maze, a pathway through woodland which guides you to contemplation of Buddist principales and carved statues. And during the wandering, I had a curious. A quick trip to the interwebs confirmed it. I was surrounded by a birch wood and birch is indeed a hardwood! A quick side trip to ask permission of the site owner, and my car boot was rapidly filled with a selection of fallen branches.
Still with me? Here's the deal. I want to make soap. It is very easy to get hold of the ingredients I need to make soap according to the modern method, but since rejoining the SCA, I think making soap where I start by making my own lye, would make a fabulous project. But to do that, I first need the ashes from a hardwood. I had been trying to get my hands on applewood, which is supposed to produce a very white soap, but alas, that plan has fallen through for the moment.
Ashes from hardwoods, such as birch, apple, oak or cherry to name a few, contain a substance commonly known as potash, which is also know as potassium hydroxide, an alkali that can be mixed with fats or oils to produce soap. Typically, potassium hydroxide produces a softer soap, so to make a hard bar, animal fat or a combination of olive oil and salt will need to be used.
The birch I brought away with me has already been burned down and will remain sitting in the grate for the next two days to ensure it's cold. Soft water I already have access to thank to the rain barrel outside, so I'm almost ready to begin!
Subscribe to:
Posts (Atom)