The ashes have cooled, and I've assembled the rest of my materials, so it's time to make some lye!
For this process, it's very important to have all of the materials to hand before you start, so here's what you need and the way you'll be using them:
Materials:
Bucket or waterproof barrel - the size depends on how much lye you intend to process. For me, this will be on the smaller scale.
Cork or tap
Gravel
Straw - I used pet bedding
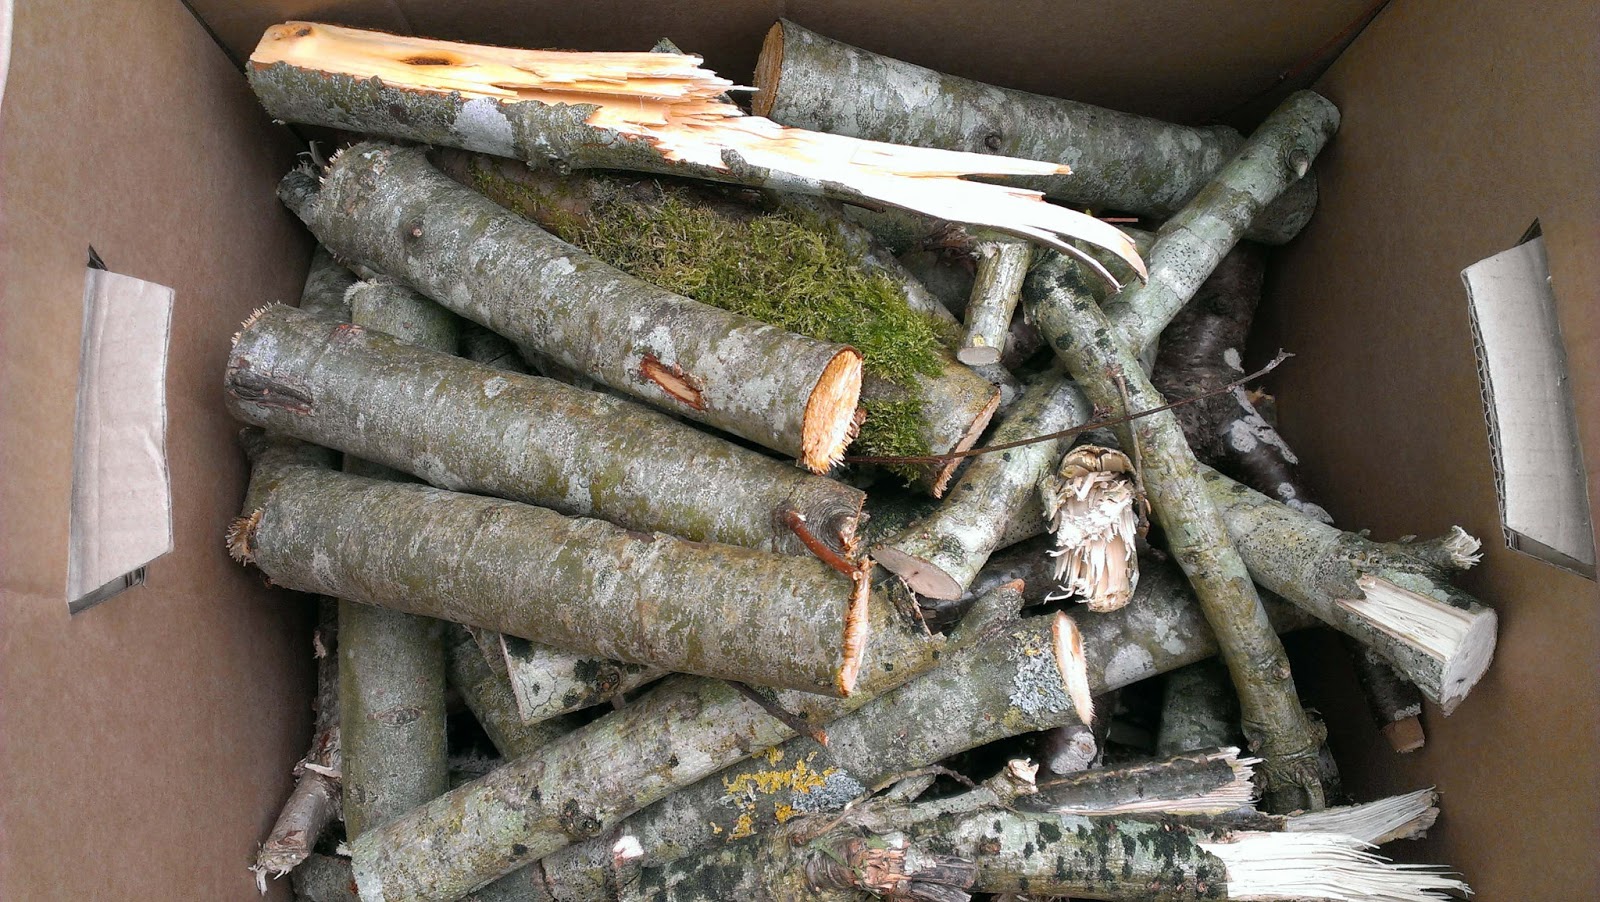
Hardwood - burnt to ashes
Soft water - I used collected rainwater from the garden's water barrel.
And here's how to make the lye:


As I mentioned in my last post, I had burnt my birch wood into ash and had left it to cool in the grate. Next I obtained a bucket, I'm using a small 3 gallon size, and I drilled a hole near the base to fit a cork snuggly. Just to be sure of the fit, I half filled the bucket with water but no drips resulted.
This method is just one that can be used. A tap can also be fitted at the bucket base, or multiple holes drilled in the base. This would mean a second bucket is needed and the water would run through straight away. The disadvantage with this is that multiple leachings are needed to extract the lye. The system I want is to be able to leave the ashes soaking for a couple of days before I extract the liquid.


Next, I added gravel to a depth of about two inches in the bucket. On top of this, I added straw to another two inches. Well, it was two inches when I squished it down, but being straw, it didn't want to stay squished. The gravel and straw acts as a filter after the ashes have been soaked, and prevent it from coming out with the water. Due to the caustic nature of the lye, the straw will likely have to be changed out on each batch.


Next, I filled the bucket with water enough to completely submerge the straw, when it wasn't floating. This brought the water level up to the bucket's two gallon mark.
And lastly, the ash. I had more ash that I'd realised from my first lot of birch wood, and I aggitated the surface slightly to make sure it was all moistened. For good measure, I topped up the water some more too, to the 10 litre mark.
All that done, I've left the bucket in the shed to do its thing, covered over with a plastic bag to prevent anything from falling in that doesn't belong there.
In Making the Lye, Part II, I'll cover the liquid extract, testing and preparation for use parts of the lye making process.